At the request of one of my Craftsy students, here's a simple tutorial for making a zipped sleeve to fit any device.
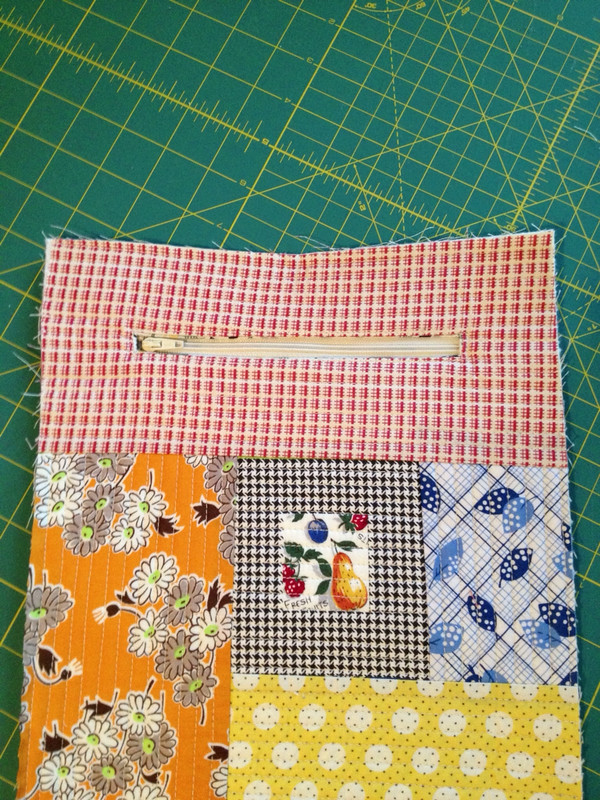
I made mine to fit my iPad with its case on as this is how I always use it. I installed a zipped pocket to hold the charger for traveling.
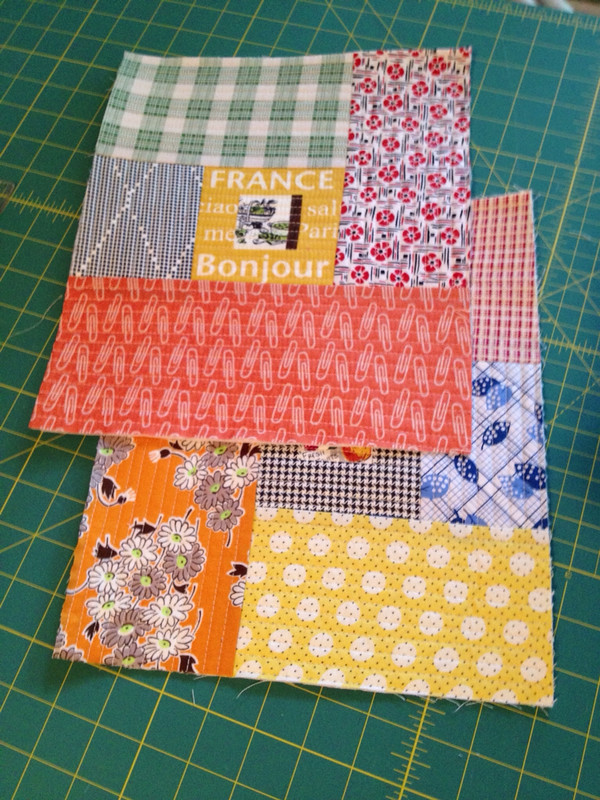
First, measure your device. Cut two pieces of batting and two pieces of utility cloth(also known as drill cloth, I get this light to mid weight canvas from Joann's) TWO inches larger on both sides. For example, my iPad is just under 8" x 10" with it's case on, so I cut my batting and utility cloth to 10" x 12."
Layer your batting on your utility cloth and use your preferred Quilt-As-You-Go method( I'm partial to the one I teach in my Craftsy class!) to fill in both sides.
Cut a pocket 8.5" x 14" and interface. I mean to say, cut your pocket 2" narrower and 2" longer than your panels. We do want your pocket to fit!
You can install a zipped pocket on the outside, as I did(I teach the technique I use in, you guessed it, my Craftsy class!), or make a basic pocket and sew it to the lining.(I teach that one, too)
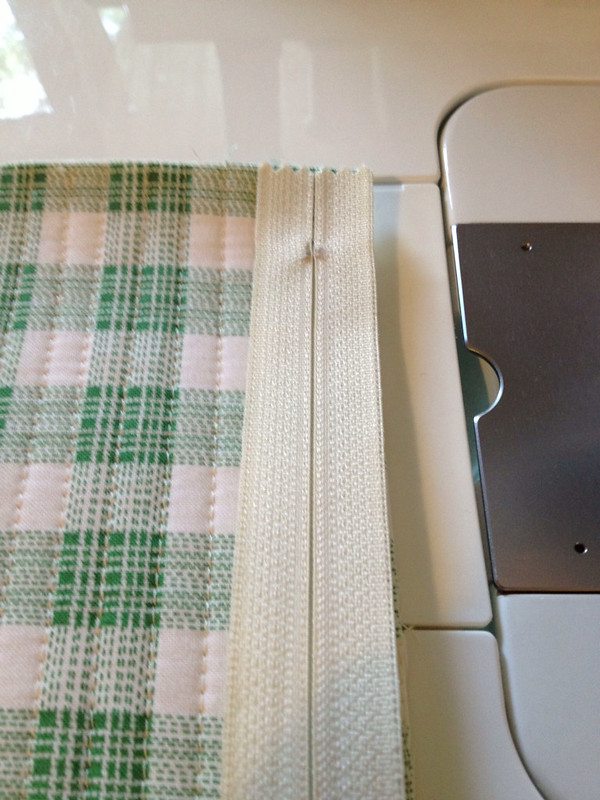
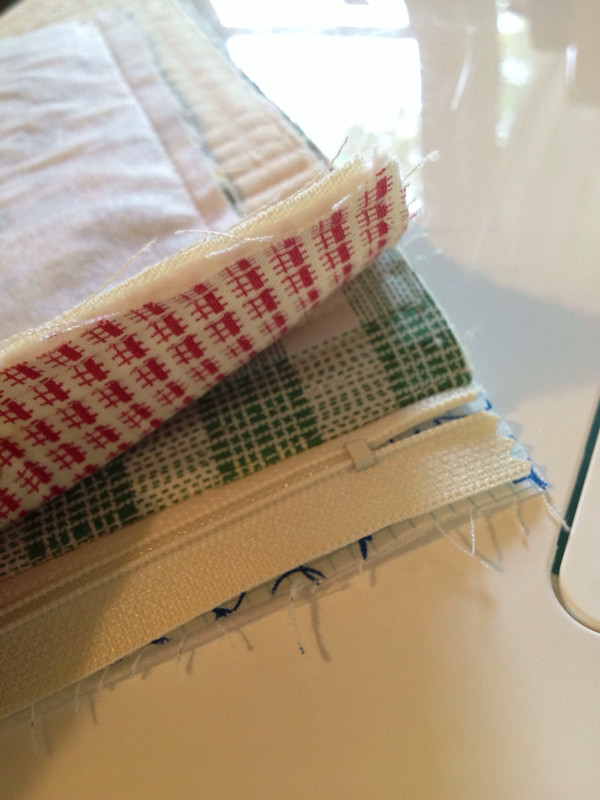
Place one of your panels right side up, and place your zipper(that is longer than the width of your sleeve) right side down starting at the end without your zipper pull. This keeps the zipper pull out of the way while sewing down the zipper.
Place a lining piece right side down on top of this, lining up the edges.
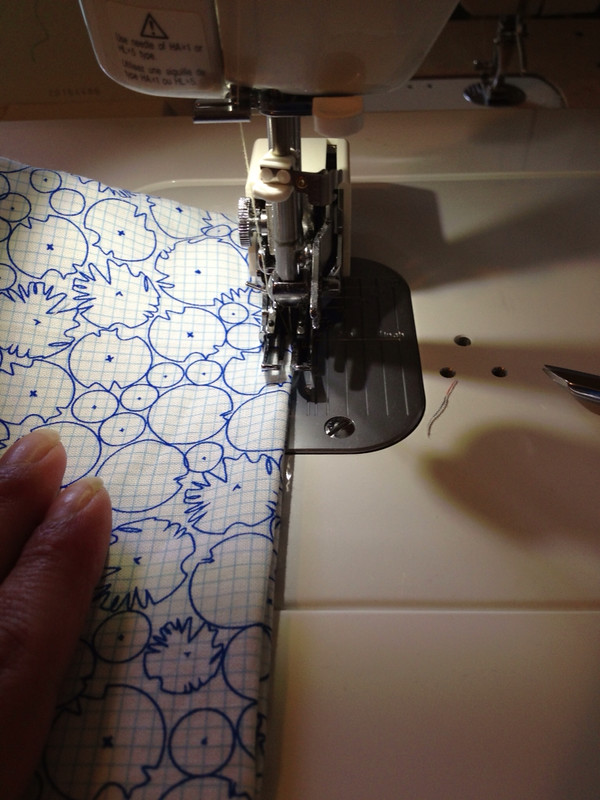
Stitch across with a 1/4" seam, making sure your edges stay aligned. Open this up with your outer panel and lining wrong sides together and, pulling the outer panel and lining tautly, edge stitch along the zipper to keep these away from the zipper teeth and give you a nicely finished edge. You should probably use a zipper foot here. I got lazy.
Now, place your second lining piece, right side up. Lay down your panel with the zipper right side up, aligning your edges.
Place the remaining outer panel right side down and sew across as you did before, keeping edges aligned as you go.
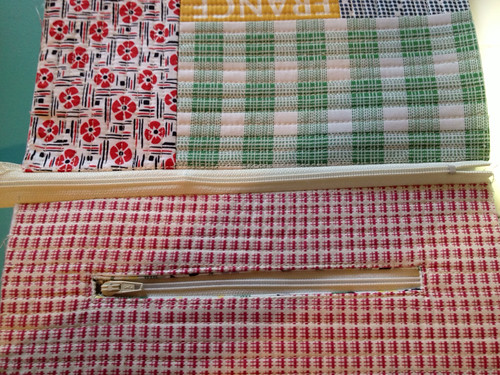
Edge stitch as before to finish your zipper installation.
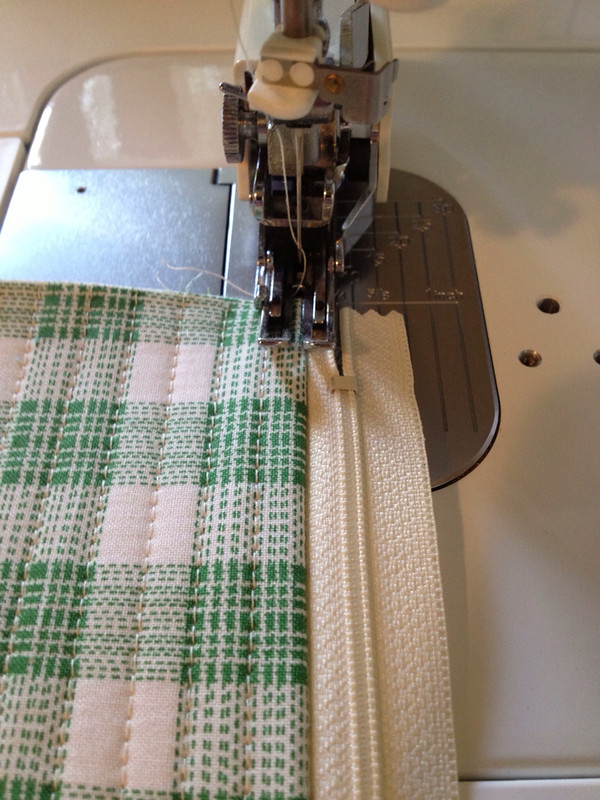
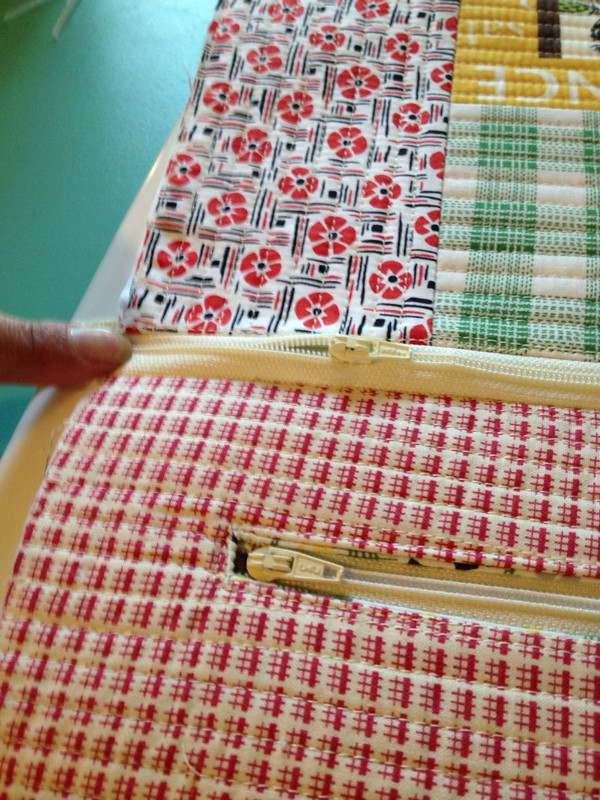
Open the zipper about half way, and baste the zipper closed about 1/4" from the edge. Do you see where? Right where I'm pointing!
Open the zipper all of the way. Now, open your sleeve by placing both the outer panels and lining panels right sides together.
You will now sew around the entire sleeve with a 1/2" seam, leaving an opening for turning at the bottom of your lining. I left a 5" opening, but if you have a smaller device, and are, therefore, making a smaller sleeve, you will leave a smaller opening. Don't leave yourself less than three inches though, or turning will be a bitch.
When you get to the zipper, fold the zipper tape toward the lining for a cleaner corner.
Turn the sleeve through the opening.
Square your sleeve up by gently poking out the corners. Hand or machine sew the opening closed. No one is ever going to see the inside bottom of your sleeve, so why would you hand sew it? Just sayin'
Fold the lining into your sleeve. Et voila!!
There are a myriad of ways to do this. This is how I did it. If you have questions, let me know. I'm pretty good about answering them!
Did I mention my Craftsy class? Quilt-As-You-Go Patchwork Bags with Tara Rebman. That's me!
Craftsy is in the midst of a mega blowout summer sale, and my class will be on sale in the next couple of days! Or you can get 25% off right now with this link! Hope to see you there!
Sew like the wind, my friends!


