
As many of you noticed, my blog ate my post! My tablet sleeve tutorial somehow got absorbed into the clutch tutorial and no matter how hard we looked, the original tutorial simply disappeared. Suffice it to say, that life has been crazy around here, and I'm sorry I'm just getting it rewritten. If you've ever written a tutorial, then you know they are a time consuming endeavor. Here's take two!
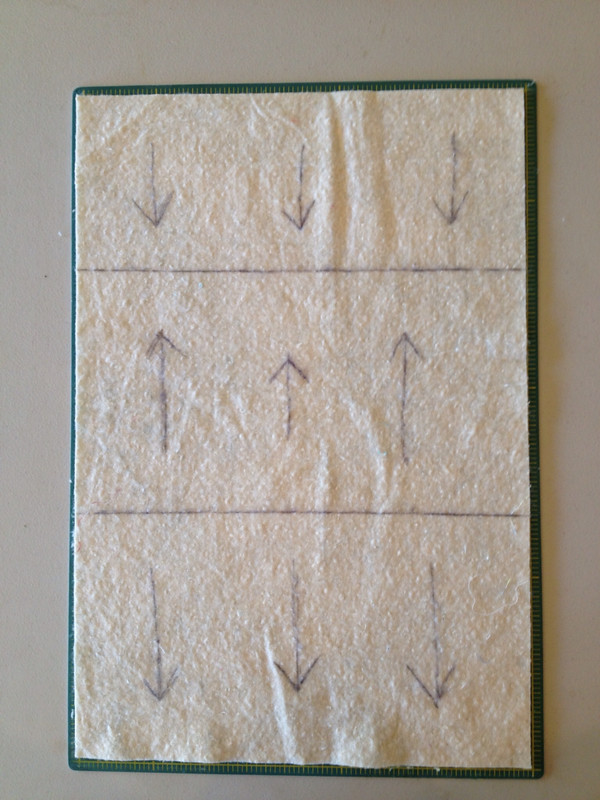
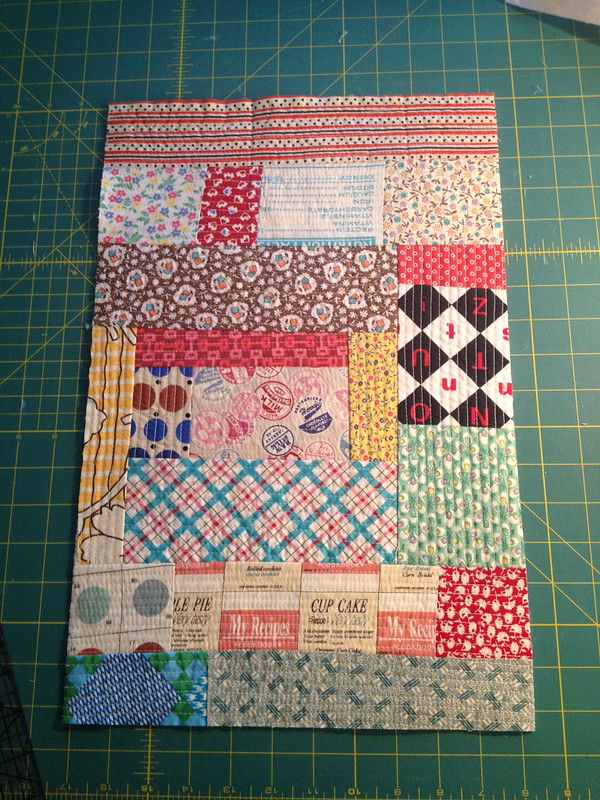
Cut out a 12" x 18" piece of batting, and draw lines across 6.5" and 12.5" from the bottom. Draw arrows as shown, to indicate directionality, because when you fold it, they will all face up!
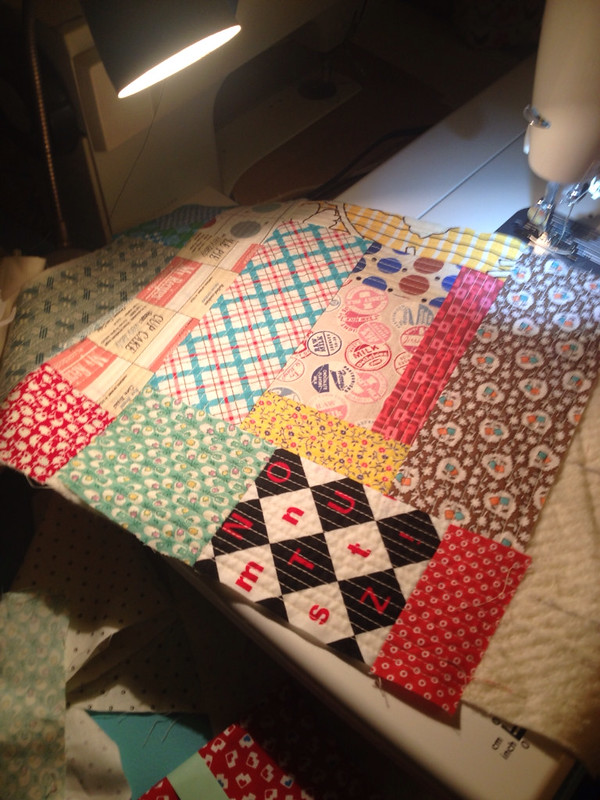
Use your favorite Quilt-As-you-go technique. Shocker, here, but I recommend my technique as seen in my Craftsy class!
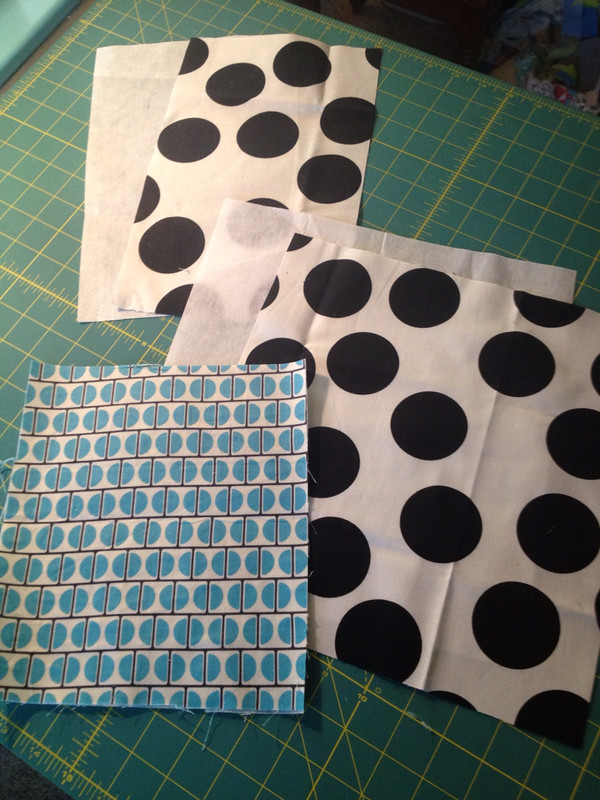
Cut out your lining and interfacing. I use decor-bond by Pellon. Cut one piece 7" x 12" and a second lining piece 12" x 12". Iron your interfacing to both. Cut a pocket and interfacing 8" x 9" and iron your interfacing to that as well.
Make your pocket. I chose to insert a zippered pocket, but you can do a plain pocket if you prefer. Sew it on or sew it in as the case may be, centered, 6" from the top of your 12" x 12" lining piece.
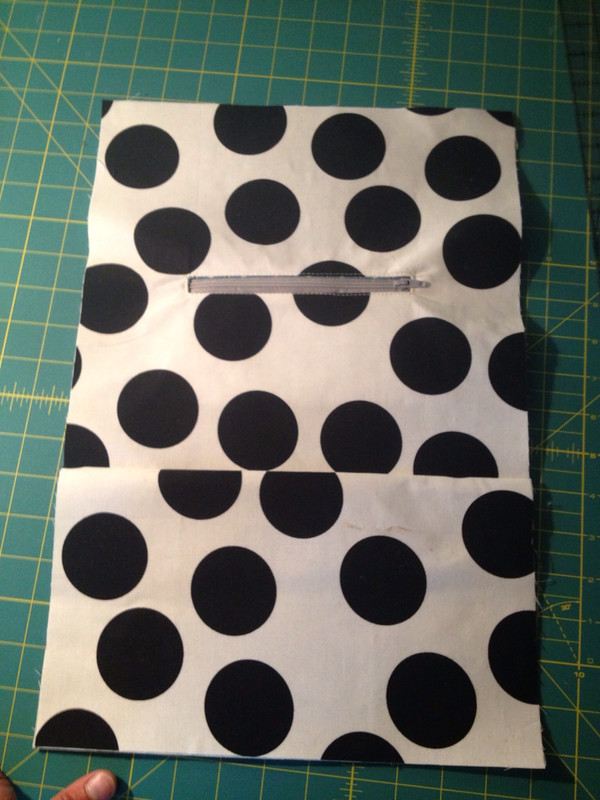
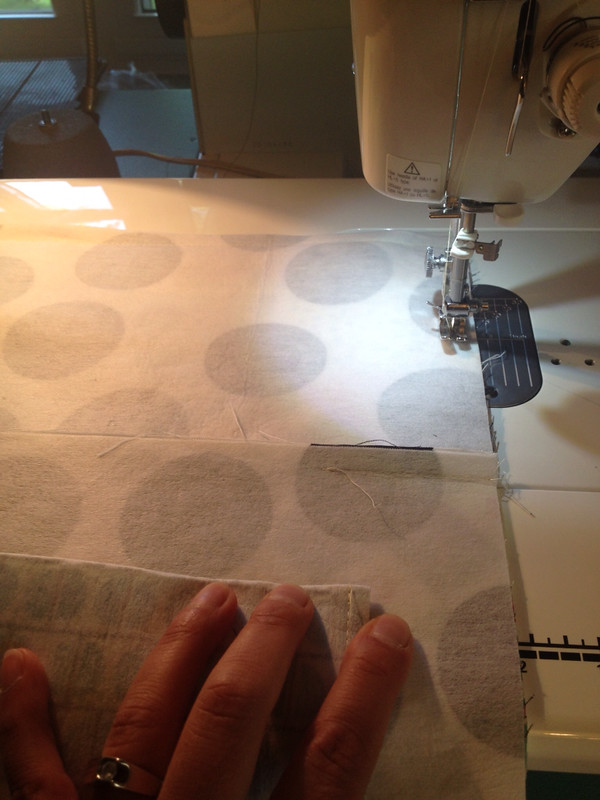
Sew your 7" x 12" lining piece to the bottom, leaving a 3"-4" opening for turning. Use a 1/2" seam here!!

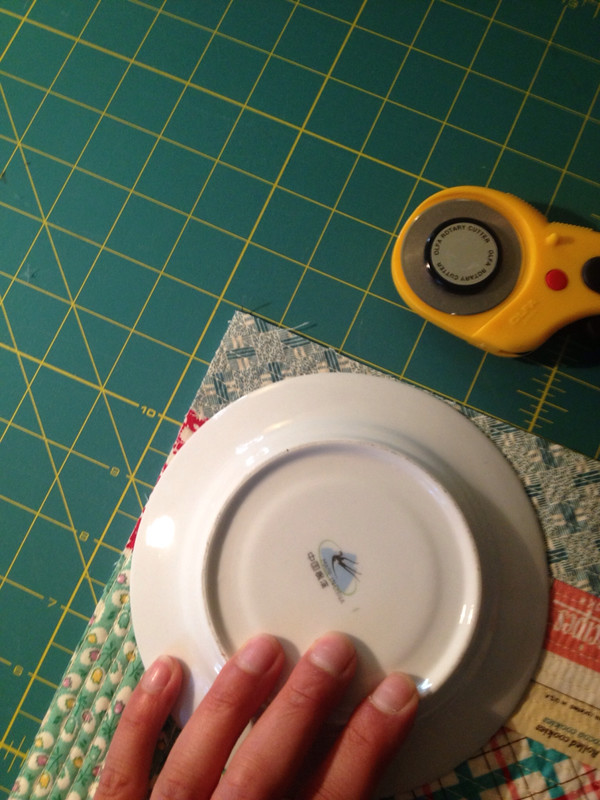
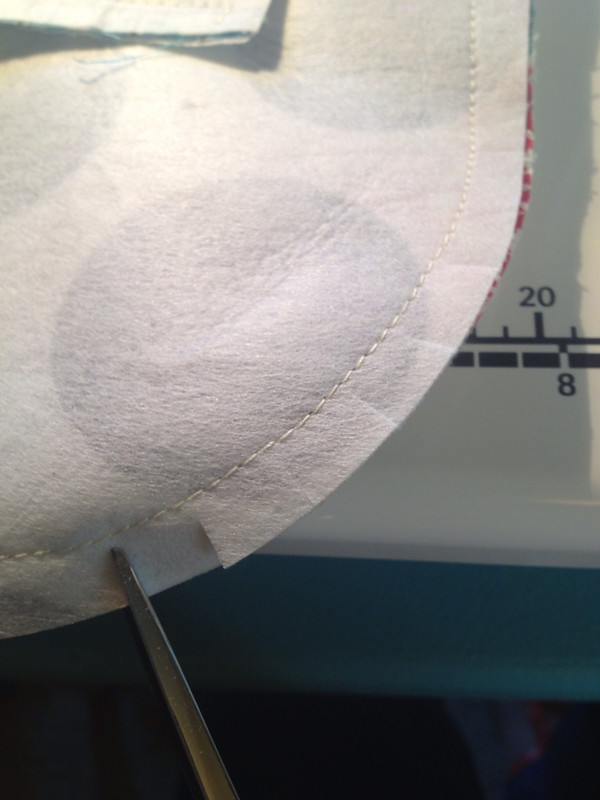
Using your favorite small plate, curve the top corners of both your QAYG panel and your lining.
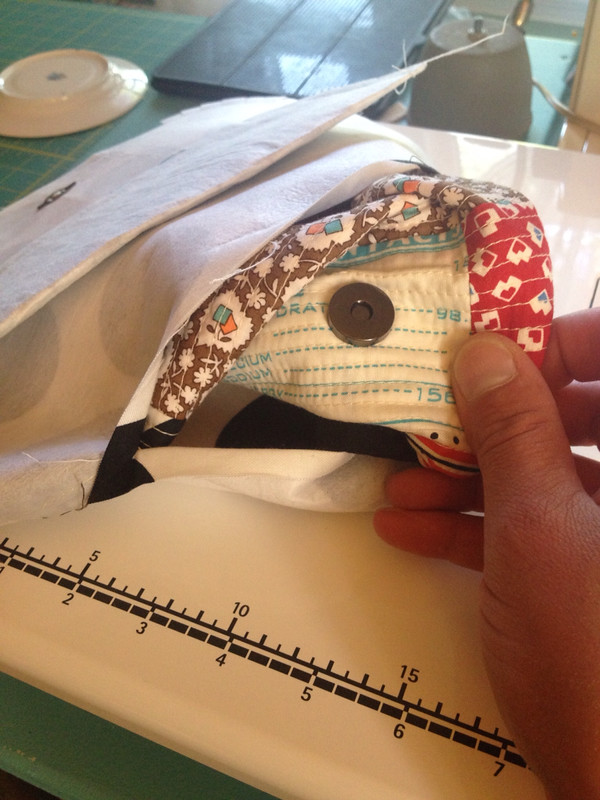
Now, add a magnetic snap if desired. Place one on your lining, 1 1/2" from the top, centered. Place the second snap at the bottom of your outer panel, 3" from the bottom, centered.

If you want a tab to hang a handle from, cut a 4" by 1" strip, and press it in half lengthwise. Open it up, and press both raw edges into the center crease. Fold on the center crease, and edge stitch closed.

Fold your tab, like so.
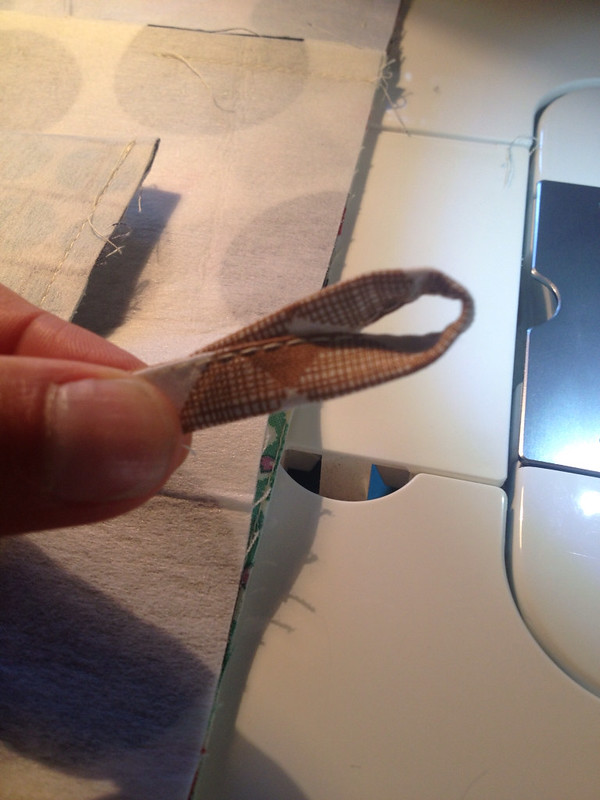
Place your tab 5 1/2" from the top of your bag and baste in place.

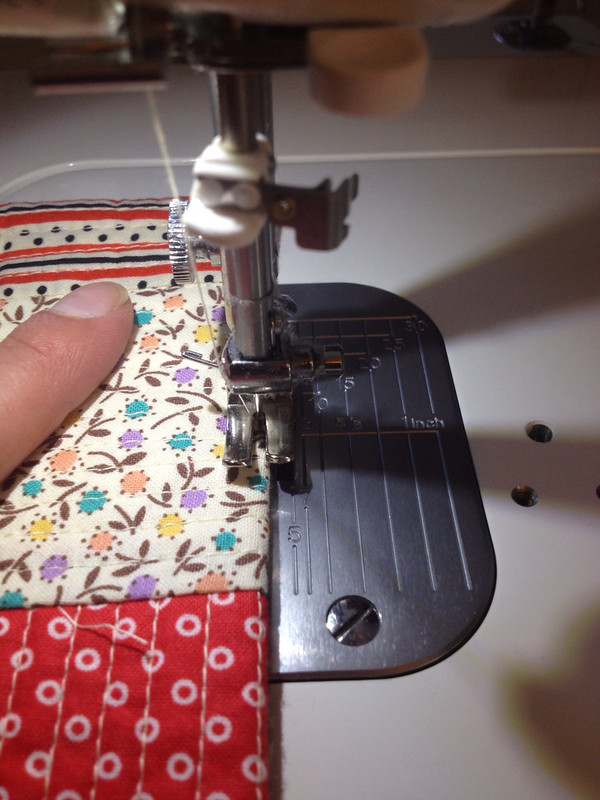
Place the outer and lining right sides together and sew around the entire thing with a 1/4" seam
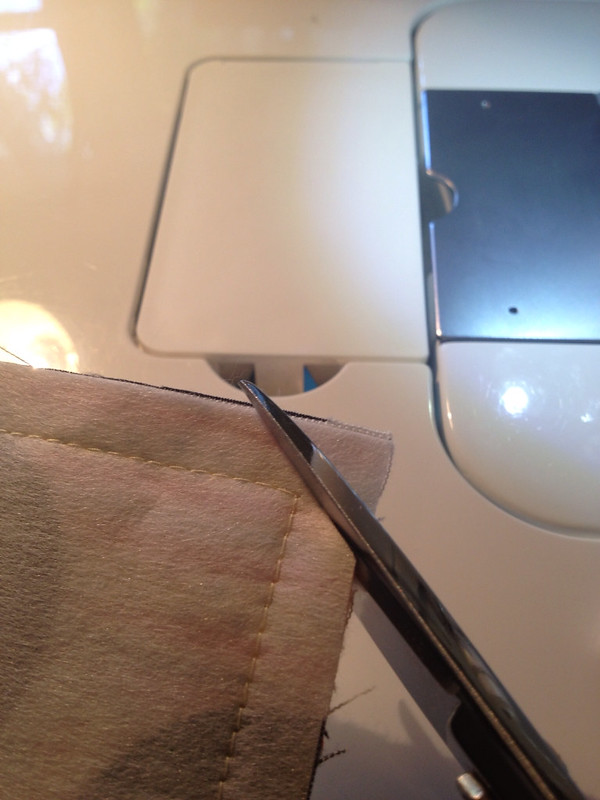
Clip your corners and curves.
Turn the clutch right side out through the opening in the lining.
Poke out your corners and smooth out your curves and press well. Sew the opening in the lining shut either by hand or machine. I choose to sew it by machine as it will be on the bottom of your bag, and all of the stitching lines from the QAYG will hide this new stitching line.

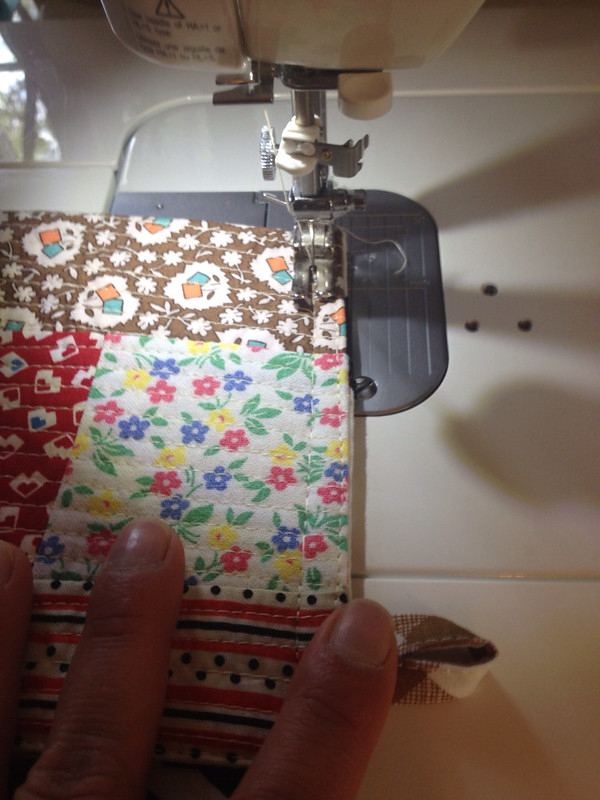
Top stitch around the entire panel.
Fold the bottom of your clutch up 6". It's good practice to use your magnetic snap here to determine exactly how deep your bag needs to be. Fasten the snap, and manipulate your clutch so that it lays flat. Sew both side seams 1/4" from the sides. Your lining will be having a little peep show, which I find charming!
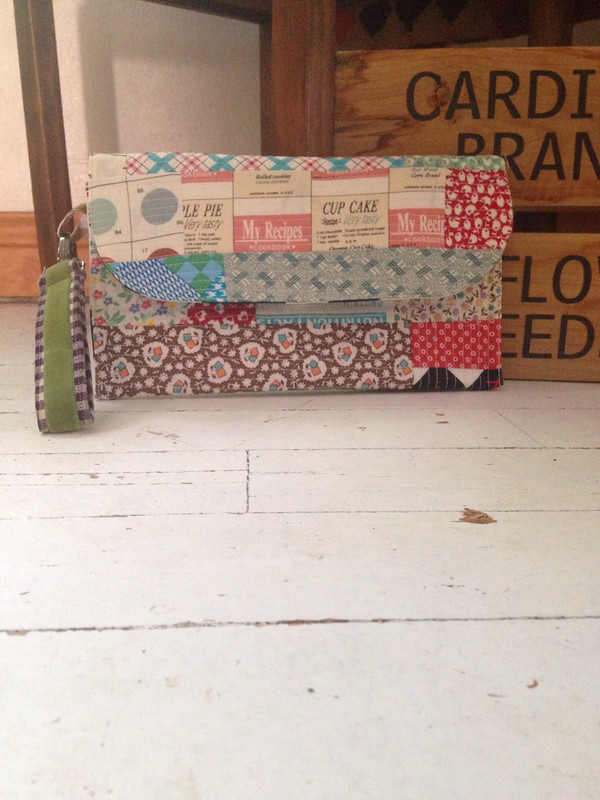
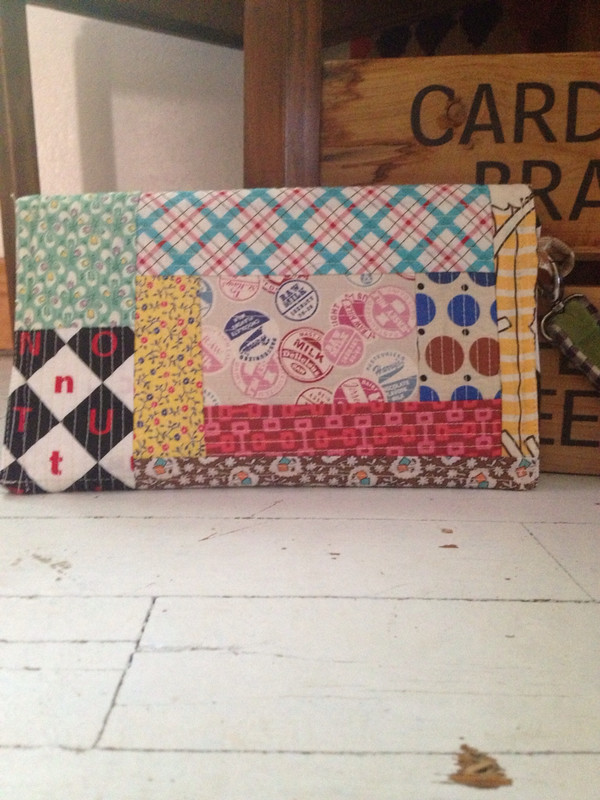
Voila! A crazy cute clutch!

Sew like the wind, my friends!
Tara
Thank you! Sorry you had to redo all that work:)
ReplyDeleteAdorable!
ReplyDeleteI took your Craftsy class and loved it!! Have made 3 tinker totes so far. Endless possibilities. Can't wait to make this adorable clutch!! Thanks so much! Cathie A.
ReplyDeleteThanks for reposting this tutorial....just wondered where it was...:0)) still haven't started my tinker tote bag..just remember I asked a question about where to find the Town Crier bag pattern....please..:0))
ReplyDeletekviltstina at gmail dot com
Fabulous tutorial, Tara! My daughter is getting a wonderful clutch for Christmas and I had fun making it for her. I am new to sewing and even newer to quilting. I love your blog, tutorials and your QAYG Patchwork Bags class on Craftsy!
ReplyDeleteI'd love to see your shop, Sarah sent me, but I can't find it.
ReplyDeleteThis will be my first qayg project and I'm uncertain how to cut my fabric. I notice that for the bag in the craftsy tutorial there was a pattern to cut out and follow. Is there a pattern for this clutch that shows how to lay out the different fabric cuts for qayg.
ReplyDeleteLove this. I love using a plate to give the curve of the corners (no way a rotary cutter is going to slice through that template!). Thanks for sharing! :)
ReplyDelete